
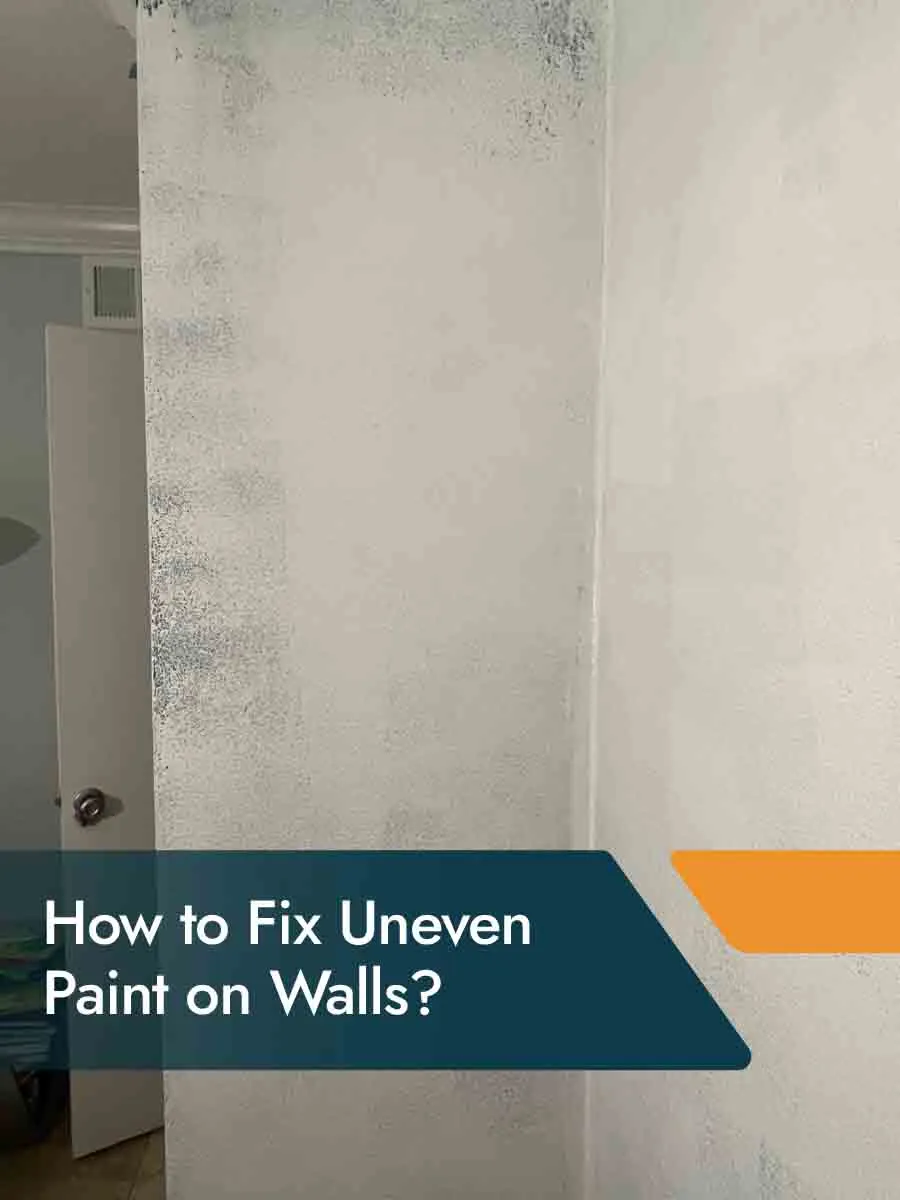
You painted the walls. The paint dried. And now it looks patchy, streaky, or covered in roller marks. Frustrating, but not uncommon.
Uneven paint is one of the most frequent DIY painting complaints. The good news: it’s almost always fixable. And once you understand why it happens, it’s pretty easy to avoid next time.
This guide covers why paint dries unevenly, how to fix every common type of problem, and when it makes sense to call in the professional interior painters.
Why Does Paint Dry Unevenly?
Uneven paint nearly always comes down to one of three things: poor prep, wrong tools or technique, or not enough coats. Here’s what each one looks like.
Poor Surface Preparation
Paint bonds to a clean, smooth, primed surface. When the wall has dust, grease, old chalking paint, unsanded filler repairs, or inconsistent primer, the paint won’t absorb evenly. Some patches soak up more than others. You end up with visible colour variation, patchy sheen, or areas where the paint looks thinner.
This is especially common when walls are painted without primer or with undercoat applied inconsistently. The base matters more than most people realise.
Wrong Roller or Technique
Roller nap matters. Using a nap that’s too short on a textured wall skips over the surface and misses the valleys. Using a nap that’s too long on a smooth wall leaves too much texture in the finish.
Technique has a big impact too. Pressing too hard, changing direction constantly, or letting sections start to dry before you blend them all create visible marks and uneven distribution of paint.
Too Few Coats / Inconsistent Coverage
One coat is almost never enough. The base will show through in patches, especially in corners, behind doors, and anywhere the roller didn’t land evenly. The result looks patchy because the coverage literally is patchy.
Going from a dark colour to a light one typically needs three coats. Even white over white needs two for a consistent finish.
How to Fix Patchy Paint on Walls
Patchy paint looks like the colour varies across the wall surface, even though it came from the same tin. Here’s how to sort it:
- Let it dry completely. Trying to fix wet or semi-dry paint will make it worse, not better.
- Inspect in raking light. Hold a torch at an angle to the wall, or check it in low, side-on natural light. This reveals every patch and variation clearly.
- Sand lightly. Use 120 to 180 grit sandpaper on any raised edges, drips, or texture variations. Wipe down with a damp cloth and let it dry.
- Paint the whole wall again. Not just the patches. Spot fixing creates new edges and usually makes things look worse. A full coat across the entire wall is the right move.
- Maintain a wet edge. Work in sections and always overlap into wet paint. Don’t let any part of the roller line dry before you come back to it.
Two well-applied full coats, with a proper wet edge, fixes patchiness in almost every case.
How to Fix Roller Marks and Streaks
Roller marks are those ridged lines left when paint builds up at the edges of the roller. Streaks are long lines running through the paint, usually from going back and forth too many times in the same spot.
To fix them:
- Let the paint dry completely before you touch it
- Sand the marks back with fine sandpaper (180 to 220 grit) to flatten the ridges
- Wipe away all dust with a slightly damp cloth and let it dry fully
- Apply a fresh full coat with a clean, good-quality roller
- Roll in a W or M pattern first to distribute paint evenly, then smooth out with light vertical passes. No pressing hard.
On roller loading: an overloaded roller leaves thick ridges at every pass. An underloaded roller skips and streaks. Load it evenly on the tray grid until the cover is coated with no drips or dry patches.
A quality roller makes a bigger difference than most people expect. Cheap rollers shed fibres, leave an uneven surface, and create texture where there shouldn’t be any.
How to Fix Uneven Sheen and Flashing
Flashing is when parts of the wall look shiny and others look flat, even in the same colour. It’s a sheen issue, not a colour issue, and it’s very noticeable in certain lighting.
It happens when:
- Fresh paint is applied to touch up already-dry paint
- Brushwork is used to fix areas painted with a roller (or vice versa)
- Paint is applied in varying thicknesses across the wall
- Low-quality paint with inconsistent pigment distribution is used
The issue with spot-fixing flashing is that every new patch creates a new sheen edge. The more you fix it in sections, the worse it tends to look.
The proper fix is a full repaint of the wall with consistent technique. Make sure you’re using the same sheen level throughout, maintain a wet edge from edge to edge, and apply evenly across the whole surface. Keep the same tool type (roller vs brush) consistent wherever possible.
How to Fix Uneven Paint on Ceilings
Ceilings are harder than walls. Gravity is working against you, you’re applying paint over your head, and ceiling surfaces catch every imperfection in the light.
The repair process is the same as for walls, but with a few extras to consider:
- Use ceiling-specific paint if you haven’t already. It’s formulated to be thicker and reduce drips.
- Roll in one consistent direction rather than alternating. This keeps the sheen uniform.
- Work in sections of roughly one square metre at a time to maintain a wet edge across the whole ceiling.
- Don’t attempt to fix ceiling patches in isolated sections. Repaint the whole ceiling in one continuous session.
Also worth noting: lighting changes everything on ceilings. A ceiling painted under artificial light and then viewed in natural daylight can look completely different. Check the ceiling in the actual lighting conditions of the room before deciding what needs fixing.
How to Prevent Uneven Paint Next Time
Getting it right from the start is much easier than fixing it after the fact. Here’s what to do differently:
- Prep the surface properly. Fill all holes and cracks, sand them smooth, and prime bare patches and any surfaces in poor condition.
- Use quality paint. Budget paint has less pigment, covers unevenly, and often needs more coats. The savings at the tin level rarely translate to savings on the job.
- Use the right roller nap. Short nap (6 to 8mm) for smooth plaster walls. Medium nap (13mm) for slightly textured surfaces. Long nap (20mm or more) for rough or heavily textured render.
- Keep a wet edge throughout. Work fast enough that each new section blends into the previous one before it dries.
- Always apply two full coats. No exceptions. Not even on small rooms or feature walls.
- Don’t spot fix. If something looks wrong, repaint the whole wall. Targeted patches almost always look worse than the original issue.
Tools and Products That Help
| Tool or Product | Why It Helps |
| Quality roller with correct nap | Even, consistent coverage with less texture |
| Roller extension pole | Better angle and more even pressure |
| High-quality paint | More pigment, better hide, fewer coats needed |
| Primer | Seals the surface so paint absorbs evenly |
| Fine sandpaper (180 to 220 grit) | Smooths out existing marks before recoating |
| Good roller tray with loading grid | Proper roller loading without overloading |
| Damp cloth | Removes dust before applying fresh paint |
One thing worth spending more on: the roller. A quality roller cover loads evenly, doesn’t shed fibres, and leaves a much smoother finish than a cheap one. It’s one of those things that makes a noticeable difference every single time.
FAQs
Why is my paint patchy even after two coats?
Usually a prep issue. The surface may not have been primed, there could be residue affecting adhesion, or the sheen levels might be mismatched. A full repaint with proper surface preparation will almost always fix it.
Can I paint over patchy paint without sanding?
If the patches are purely colour variation with no texture difference or raised edges, you can repaint without sanding. But if there are roller marks, drips, or ridges, sanding first gives a much cleaner result.
Why do roller marks only show up after the paint dries?
When wet, all the paint has the same sheen because it’s still fluid. As it cures, varying thicknesses dry at slightly different rates and to slightly different sheens, making marks visible that weren’t obvious when you were applying the paint.
How long should I wait between coats?
Check the specific product instructions, but most water-based paints need at least two to four hours between coats. Going too soon can cause the second coat to lift the first, creating more problems than it solves.
Why does paint look streaky near the edges and corners?
Usually because the cut-in brush work dried before the roller coat was applied alongside it. The two coats then have different sheen levels. Cut in and roll the same wall in the same session to prevent this.
Is it better to repaint the whole wall or just the patchy section?
Almost always the whole wall. Especially with mid-sheen finishes like satin or semi-gloss, any new edge will catch the light differently. A full wall repaint is a cleaner fix every time.
When to Call a Professional Painter
If you’ve repainted twice and still can’t get a consistent finish, or if the problem runs through multiple rooms, it may be time to get a professional assessment.
Persistent unevenness can sometimes point to underlying issues: moisture in the walls, the wrong paint system, or a surface that needs more thorough prep than DIY methods can deliver. A professional can identify the actual cause and fix it properly the first time.
Get a flawless finish – book a painter and see what a properly applied interior paint job actually looks like. At Ace Coating Services, our painting services cover everything from surface assessment and prep through to full interior repaints.