
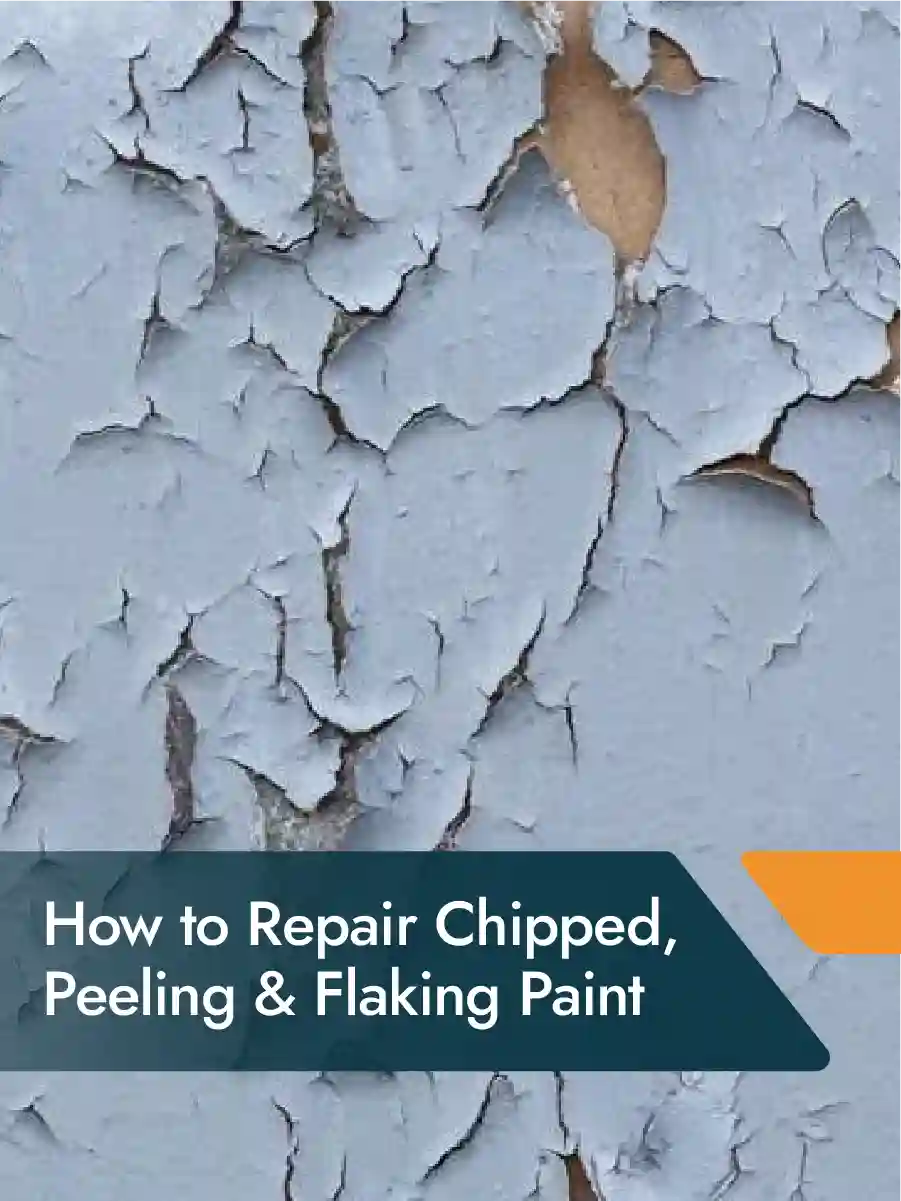
Chipped and peeling paint is never just a cosmetic issue. It’s telling you something went wrong. Maybe the prep wasn’t thorough enough, maybe moisture got involved, or maybe the paint has simply aged past its useful life.
The good news is that most paint damage can be repaired without doing a full repaint. The better news is that if you know why it happened, you can make sure it doesn’t happen again.
Here’s everything you need to know about repairing chipped, peeling, and flaking paint on walls, doors, trim, and exterior surfaces.
Why Does Paint Chip, Peel and Flake?
Paint fails for a reason. There’s always a cause, and identifying it is the first step to fixing the problem properly.
Moisture and Damp
Moisture is the number one reason paint fails. When water gets into or behind a painted surface, it pushes the paint away from the substrate. You’ll usually see bubbling first, then peeling and flaking as the bubbles dry out and collapse.
Common sources of moisture damage:
- Leaking gutters or downpipes running close to walls
- Condensation in bathrooms, kitchens, and laundries
- Rising damp in older homes without proper damp courses
- Rainwater getting behind exterior cladding or weatherboards
If moisture is the cause of your paint failure, fixing the surface without addressing the source will give you the same result again within a year or two. Sort the moisture first, then repair and repaint.
Poor Preparation or Adhesion
Paint applied to a dirty, greasy, glossy, or unprimed surface won’t bond properly. It often looks perfectly fine to begin with, and then starts lifting within months.
Common prep failures that lead to peeling:
- No primer used, or the wrong primer for the surface
- Painting over a glossy surface without sanding or using a de-glosser
- Applying paint to a surface with grease, dust, or residue on it
- Painting in cold or wet conditions that interfere with adhesion
This type of failure is especially common on doors, window frames, and trim that were quickly repainted without proper preparation.
Age and Sun Exposure
Paint doesn’t last forever. In Australia, UV exposure is intense, and it breaks down paint films over time. Exterior surfaces facing north or west take the heaviest punishment.
As paint ages, it loses elasticity. It becomes brittle, chalky, and unable to flex with the natural movement of the substrate underneath it. At some point it starts to crack and flake. This is natural, and regular maintenance repainting is the solution.
Older homes that have multiple layers of paint stacked over decades can also see the whole system fail when the oldest layers lose adhesion, taking everything above them with it.
Tools and Materials You’ll Need
Before you start, get your kit together:
- Paint scraper or stiff putty knife
- Sandpaper in multiple grits (80, 120, and 180)
- Fine interior filler (spackle) for interior walls
- Flexible exterior filler for outdoor surfaces and timber
- Bonding primer (this is non-negotiable for repaired areas)
- Topcoat paint matched to the existing finish
- Small roller or brush suited to the area
- Drop sheets and painter’s tape
- Damp cloths for dust removal
Skimping on primer or filler is where most DIY repairs go wrong. Quality materials are worth the extra few dollars.
How to Repair Chipped Paint on Walls Step by Step
Scraping and Sanding
Start by removing all the loose paint. Use a scraper or putty knife to lift anything that’s peeling, bubbling, or sitting above the surface. Be thorough. Any paint that isn’t firmly bonded needs to come off. If you paint over loose edges, they’ll peel again, taking the new coat with them.
Once all the loose material is gone, sand the edges of the repair to feather them out into the surrounding paint. This blends the repair zone into the wall so there’s no hard step at the edge.
Work through the grits in sequence: 80 grit to knock down the edges, 120 to smooth the transitions, 180 to finish smooth. Wipe down with a damp cloth to remove all dust and let it dry completely.
Filling and Priming
Apply filler to any gouges, holes, or indentations. Fill slightly proud of the surface because most fillers shrink a little as they dry.
Once fully cured, sand back smooth and flush with the surrounding wall. Pay attention to feathering the edges again after sanding.
Now prime the repaired area. This step is not optional. A bonding primer improves adhesion of the topcoat, seals the filler so it doesn’t absorb paint at a different rate to the wall, and evens out the base. Without primer, the repaired patch will be visible because the paint over filler looks different to paint over the original surface.
Let the primer dry fully before painting.
Repainting and Blending
Apply your first coat of paint. Match the sheen level as closely as the colour. A satin patch on a flat wall will show up even if the colour is identical.
Feather the paint out well beyond the repair area. Don’t stop right at the edge of the filler. Blend out half a metre in each direction where possible.
Let it dry, then apply a second coat. If the patch is still visible, the cleanest solution is to paint the entire wall rather than continuing to chase the blend at the edges.
How to Fix Peeling Paint on Doors and Trim
Doors and trim peel for slightly different reasons than flat walls. They’re touched and cleaned constantly, exposed to temperature changes as they heat up and cool down, and often painted without adequate prep because they’re fiddly to work on.
Here’s the process:
- Remove all peeling and loose paint with a scraper. Pay close attention to edges, corners, and the top of the door where peeling often starts.
- Sand the entire surface once you’ve scraped. Smooth out all feathered edges and lightly abrade any areas where the paint is still intact to give the primer something to bond to.
- Clean with a degreaser. Doors collect oils from hands and residue from cleaning products over time. A wipe down with a mild degreaser makes a real difference to adhesion.
- Fill any cracks or dents with fine filler. Sand smooth once cured.
- Prime appropriately. Timber doors need a wood primer. Previously painted metal or composite doors need a bonding primer. Don’t skip this step on trim.
- Apply at least two coats of quality door and trim paint. Trim paint is formulated to be harder-wearing and more washable than standard wall paint. It’s worth using the right product.
Let each coat dry properly before applying the next. Rushing leads to lifting, bubbles, and brush marks.
How to Repair Flaking Paint on Exterior Surfaces
Exterior paint failures are often more widespread than they first appear. A few flaking spots can be the visible sign of adhesion failure across a much larger area.
For exterior surfaces:
- Scrape off all flaking and loose paint. For large areas, an electric sander with a coarse disc is more practical than hand scraping alone.
- Sand all edges and feather thoroughly. There should be no hard lines between bare areas and painted areas when you’re done.
- Inspect the substrate. If the timber beneath is soft, grey, or stained with moisture, treat it with a penetrating wood hardener or timber treatment before priming.
- Apply flexible exterior filler to any splits, cracks, or gaps. Standard interior filler will crack on exterior surfaces as the material expands and contracts with temperature changes. Use a product rated for outdoor use.
- Prime the entire surface if the paint is severely degraded across a large area. Spot priming repairs while leaving the rest unprepared means you’re building on an inconsistent base.
- Apply two coats of quality exterior paint. UV-stable and weather-resistant products cost more upfront but last significantly longer in Australian conditions.
For large exterior surfaces with significant paint failure, a full professional repaint is often a more practical and cost-effective solution than extensive spot repairs.
If the exterior of your home needs more than a quick fix, our exterior repaint service covers the full process from prep to finish. And for inside the home, our interior painting team handles walls, ceilings, doors, and trim.
How to Stop Paint Chipping Again
The best repair is one you don’t have to do again in two years. Here’s how to make the next paint job last:
- Always use primer. Even when you think you don’t need to. Primer is the bond between the substrate and the topcoat. Without it, adhesion is compromised from day one.
- Prepare the surface properly. Clean, degrease, sand glossy areas, fill any damage, and let everything cure before you paint.
- Match the product to the job. Exterior paint outside, interior paint inside, and hard-wearing trim paint on doors and woodwork.
- Don’t paint in unsuitable conditions. Avoid hot direct sun, expected rain within 24 hours, and temperatures below around 10 degrees.
- Apply enough coats. Two full coats is the minimum on almost every surface. One coat is not a complete job.
- Maintain regularly. Catching small chips and cracks early means simple repairs rather than full repaints. A quick inspection and touch-up every year or two extends the life of a paint job dramatically.
When Chipped Paint Signals a Bigger Problem
Sometimes paint fails simply because it’s old. But sometimes it’s a warning sign of something more serious. Keep an eye out for:
- Bubbling or blistering on interior walls in areas not exposed to direct moisture. This often indicates moisture coming through from behind the wall rather than from the surface.
- Paint failing in the same spot repeatedly even after you repair it. This almost always means the moisture or adhesion problem underneath hasn’t been fixed.
- Soft, spongy, or discoloured timber beneath peeling exterior paint. This is timber rot and needs treatment before any repainting can be done effectively.
- Multiple paint layers delaminating together. If the whole stack of paint is lifting, the paint system has failed at the base. Stripping back to the substrate and starting fresh is the right move.
- Cracks running through the paint and into the wall surface. Cracks in render, masonry, or plasterboard that aren’t caused by normal paint failure may indicate structural movement or settlement that needs to be investigated.
If you’re seeing any of these, don’t just paint over it. Get it properly assessed first.
Book a repaint that lasts with the team at Ace Coating Services. We assess the cause of paint failure before we start work so the fix is the right one, not just the fastest one.
FAQs
Can I paint over chipped paint without removing it?
Only if every chipped edge is completely stable and there’s no risk of spread. In most cases, removing all loose paint before repainting produces a much longer-lasting result and a better surface.
What’s the best filler for repairing chipped paint on walls?
A lightweight spackle or fine acrylic filler for interior walls. For exterior surfaces, use a flexible exterior filler specifically rated for outdoor conditions.
How do I get a repaired patch to blend in?
Prime the repair area, feather the paint well beyond the patch boundaries, and match the sheen level of the surrounding paint as well as the colour. If it still shows, repainting the entire wall or panel is the cleanest solution.
Why does paint peel after only a year?
Usually comes down to one of four reasons: moisture, wrong product for the surface, inadequate surface preparation, or painting in unsuitable conditions. All four are preventable with the right approach.
Does primer really make that much difference?
Yes. It’s the single most impactful step in a paint job after cleaning the surface. Primer improves adhesion, seals porous surfaces, and creates a uniform base for the topcoat. Skipping it is one of the most common reasons paint fails within the first year or two.
How long should repaired paint last?
With proper prep, the right primer, and quality topcoat, a well-repaired and repainted surface should last five to ten years depending on the surface type and its exposure to the elements.
Get a Long-Lasting Professional Finish
Chipped and peeling paint is fixable, but doing it right takes time, patience, and the right products. And honestly, if you’ve got extensive damage across multiple surfaces, the DIY route can drag on for weeks.
The team at Ace Coating Services handles exterior paint repairs and full repaints across Melbourne. We prep properly, use quality products suited to Australian weather, and apply the right number of coats so the job actually lasts.
Whether you need spot repairs on a few areas or a complete exterior refresh, we’ll assess what’s causing the paint to fail and fix it properly the first time.
Book a repaint that lasts and get a professional finish that won’t need redoing in two years.