
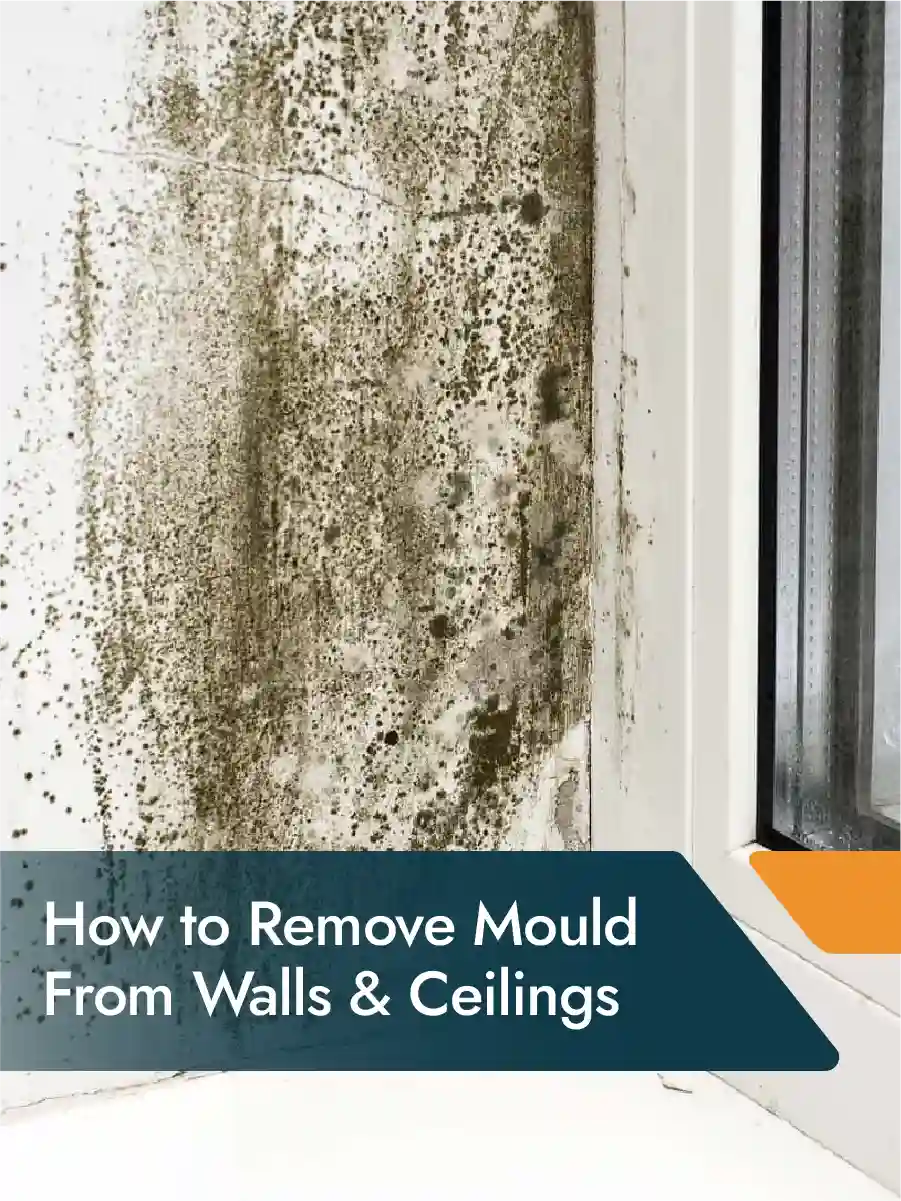
Mould on walls and ceilings is not just ugly. It’s a health concern, a signal that something is wrong with your home’s moisture management, and if you don’t deal with it properly before repainting, it will be back within weeks.
This guide covers what causes mould, how to remove it safely, how to stop it returning, and how to prep your surfaces for a clean repaint. If you want it handled properly from start to finish, our interior repaint service has you covered.
What Causes Mould on Walls and Ceilings?
Mould needs three things: moisture, warmth, and something to feed on. Walls and ceilings provide all three.
In Australian homes, mould is most common in:
- Bathrooms and en suites
- Kitchens
- Laundry rooms
- Bedrooms with poor cross-ventilation
- South-facing walls and rooms that don’t get much natural sunlight
- Behind furniture pushed up against cold exterior walls
The moisture source is almost always the root cause. It could be steam from cooking or showering, condensation forming on cool wall surfaces, a slow pipe leak, rising damp through the floor or walls, or simply a room that doesn’t get enough airflow to dry out.
Here’s the key thing: mould on the surface is a symptom. If you only treat the surface without fixing the moisture, it will return. Every time.
Is Black Mould Dangerous?
It can be. The species most people associate with “black mould” is Stachybotrys chartarum, which can produce mycotoxins with prolonged exposure. But not all dark or black-coloured mould is this specific species.
Regardless of the type, mould growing inside your home should be taken seriously. Common health effects from mould exposure include:
- Respiratory irritation and wheezing
- Runny nose, sneezing, and sinus congestion
- Eye and throat irritation
- Headaches and fatigue
- Worsening of asthma or existing allergies
- More serious effects in young children, elderly people, and those with compromised immune systems
If you or anyone in your home has been experiencing unexplained respiratory symptoms, mould could be a contributing factor.
If the affected area is larger than one square metre, if mould is returning repeatedly despite treatment, or if you suspect it’s inside the wall cavity, don’t DIY it. Call a professional.
How to Remove Mould From Walls Step by Step
This process works well for surface mould on painted interior walls. If the plasterboard is soft, stained through, or the mould is inside the wall structure, you’ll need professional remediation rather than surface treatment.
Safety Gear and Ventilation
When you disturb mould, spores release into the air. Don’t skip protective gear.
You’ll need:
- A P2 or N95 respirator mask (regular surgical masks don’t provide adequate filtration for mould spores)
- Safety glasses or close-fitting goggles
- Rubber or nitrile gloves
- Old clothing you can wash at high temperature or dispose of afterward
Before you start:
- Open all windows and doors in the room
- Turn on an exhaust fan if one is fitted
- Keep children, elderly people, and anyone with respiratory conditions out of the room
Cleaning Solutions That Work
| Solution | Best For | How to Use |
| White vinegar (undiluted) | Light to moderate surface mould | Spray on, leave 1 hour, scrub, wipe clean |
| Bleach solution (1 part bleach to 10 parts water) | Surface mould on non-porous painted walls | Apply, leave 10 to 15 minutes, scrub, rinse well |
| Commercial mould remover | Heavier mould or recurring problems | Follow product instructions carefully |
| Baking soda and water paste | Light mould on delicate surfaces | Apply, scrub gently, rinse clean |
One important note: never mix bleach and vinegar. The combination produces chlorine gas, which is dangerous in an enclosed space.
For painted walls, a commercial mould remover is often the safest option because it’s formulated to treat mould without stripping or damaging the paint surface underneath.
Scrubbing and Drying
Once the cleaning solution has had time to work:
- Scrub the affected area with a stiff brush or a firm scrubbing pad. Work in small sections.
- Wipe the area with a clean, damp cloth. Rinse the cloth frequently.
- Repeat if the mould hasn’t fully come away on the first pass.
- Dry the surface thoroughly. Use a fan, dehumidifier, or open windows to accelerate drying.
The surface must be completely dry before you prime or paint. Any remaining dampness will cause mould to return and cause the new paint to fail early.
How to Remove Mould From Ceilings
Ceilings are harder to treat because you’re working directly above your head and cleaning solutions drip down.
Extra precautions for ceilings:
- Wear close-fitting goggles, not just glasses. Drops and splashes happen.
- Use a spray bottle to apply cleaning solution rather than a wet cloth. You have more control.
- Work from a stable ladder or platform. Don’t use a chair or step stool on an unstable surface.
- Have someone with you if you’re working at height for extended periods.
The cleaning process is the same as for walls. Spray, let the solution dwell on the surface, scrub, wipe clean, dry. The challenge on ceilings is keeping the solution on the surface long enough to work. Foam-based or gel mould removers can help here because they cling to the ceiling better than liquid sprays.
After treatment, if the plasterboard feels soft when you press it, is heavily stained, or the mould returns quickly, the board may need to be replaced. Paint over compromised plasterboard is a short-term fix that will need to be done again within months.
How to Stop Mould Coming Back
Removing mould is step one. Keeping it from returning is the part that actually matters long-term.
Fixing Moisture and Ventilation
If the moisture source isn’t addressed, mould will be back. This is where most DIY attempts fall short.
Steps that actually make a difference:
- Install or upgrade exhaust fans in bathrooms, kitchens, and laundries. Make sure they’re rated for the room size and vent to the outside, not into the ceiling cavity.
- Run exhaust fans during and for at least 15 to 20 minutes after showering, cooking, or using the laundry.
- Check for leaking pipes, roof leaks, blocked gutters, or rising damp and fix them at the source.
- Open windows to create cross-ventilation, even briefly each day. Fresh air movement is one of the most effective things you can do.
- Avoid drying laundry indoors where possible. It releases a significant amount of moisture into the air.
- Use a dehumidifier in rooms that stay damp or don’t ventilate well.
- Pull furniture away from exterior walls to allow airflow behind it.
Using Mould-Resistant Paint
Once the surface is treated and completely dry, use a mould-resistant primer and paint when you repaint.
Mould-resistant paints contain antimicrobial additives that inhibit mould growth on the painted surface. They work best as part of a complete approach: fix the moisture, treat the existing mould, then repaint with mould-resistant products.
Good options available in Australia include:
- Dulux Wash and Wear with Mould Guard
- Taubmans All Weather
- Solver Interiorex with mould inhibitor
Always apply a mould-resistant primer before the topcoat, especially on any wall that has had mould growing on it.
Can You Paint Over Mould? (Why You Shouldn’t)
No. And people try this all the time.
Painting over mould without treating it first is like putting a bandage over an infected wound. The mould keeps growing underneath the fresh paint, the new coat bubbles and peels, and within a few months you have a worse problem than before.
Even mould-resistant paint will not kill live mould or stop actively growing mould. It’s designed to prevent new mould forming on the painted surface. It’s not a treatment for existing mould.
The correct sequence is always:
- Fix the moisture source
- Remove all mould with an appropriate cleaning solution
- Allow the surface to dry completely
- Apply a mould-resistant primer
- Apply a mould-resistant topcoat
There are no shortcuts in this process that don’t come back to bite you later.
Book a mould-safe repaint with the team at Ace Coating Services if you want the whole process handled properly from assessment through to final coat.
When to Call a Professional
Some mould situations genuinely go beyond what DIY can fix. Call a professional if:
- The affected area is larger than one square metre
- Mould keeps returning to the same spot despite cleaning
- You suspect mould is inside the wall or ceiling cavity
- The plasterboard is soft, sagging, or heavily stained
- Anyone in the home is experiencing respiratory symptoms
- You can smell mould but can’t see an obvious source
- The home has known rising damp or structural moisture issues
Professional mould remediation involves containment of spores during removal, treatment of the underlying structure where needed, and a proper assessment of the moisture source. It’s a more thorough process than surface cleaning.
A professional painter will also know how to properly prime and seal a previously mouldy surface before repainting so the new coat actually lasts.
FAQs
What kills mould on walls permanently?
Nothing permanently kills mould if the moisture source isn’t fixed. Treat the visible mould with vinegar, bleach solution, or a commercial remover, address the root cause of the moisture, and use mould-resistant primer and paint. That combination gives the best long-term result.
Is vinegar or bleach better for mould on walls?
Vinegar works better on porous surfaces and is safer to use without ventilation concerns. Bleach is more effective on non-porous surfaces like tiles and glass but won’t penetrate into porous materials like plasterboard to kill the mould at the root. For most painted walls, vinegar or a purpose-made commercial mould remover is the better choice.
Can I paint straight over mould-treated walls?
Only once the surface is completely dry and you’re applying a mould-resistant primer first. Don’t skip the primer. It seals the treated surface and gives the mould-resistant topcoat the best chance of working as intended.
How do I know if mould is behind the wall?
Signs include a persistent musty smell even after cleaning, mould returning repeatedly in the same spot, soft or stained plasterboard, and damp patches that don’t dry out. If you suspect it, have it professionally assessed rather than drilling into walls yourself.
Is black mould on the ceiling dangerous?
It can be, particularly with ongoing exposure. If the patch is larger than a standard piece of A4 paper, if it keeps coming back, or if anyone in the home has respiratory symptoms, get a professional assessment.
How long after treating mould can I repaint?
Wait at least 24 hours, or until the surface is confirmed to be completely dry to the touch with no remaining damp smell. On humid days or in poorly ventilated rooms, this may take longer. A dehumidifier speeds things up considerably.
Prep Your Walls for a Flawless Repaint
Mould-treated walls can look great again with the right approach. But they need the proper prep, the right primer, and the right paint system to stay that way.
The team at Ace Coating Services provides a complete interior repaint service that covers surface assessment, mould treatment prep, priming, and full repaint. We also handle exterior painting for homes with mould or moisture issues on outside walls.
Book a mould-safe repaint and get a surface that’s clean, protected, and properly prepared from the start.